DIY hair dye tips
All Singaporeans can relate to that countdown leading up to graduation, where we’re free from the confines of school uniforms and can finally dye our hair. Whether you’re feeling adventurous and want to take on a DIY project or just want a hair makeover without breaking the bank at a salon, box dyes are super popular for a reason.
From dyeing a few shades lighter and becoming a chic brunette to going all-out and transforming your crowning glory into various shades of the rainbow, here are 8 tips to achieving a successful DIY dye job.
1. Start with a clean foundation that’s not 100% stripped of oil
People often debate whether it’s best to dye their hair with a clean or unwashed scalp, but there’s actually a very specific science to it. What you want is to have a clean foundation to work with, as dirt and debris would get in the way of even coverage.
That being said, squeaky clean hair is a little too slippery for hair dye to properly latch onto. Plus, stripping your scalp of its natural oils may lead to over-sensitive skin and possible abrasions from certain harsh dye formulas.
What to do: Your best bet is to plan your self-dye project according to your schedule and do it some time where enough natural protective oils have accumulated in between washes, without personal activities in your life resulting in an overly dirty scalp. For instance, after a camping trip or BBQ session where grease gets trapped in your hair.
2. Do a strand test to check for colour and reactions
Imagine the horror of unveiling your new ‘do only to discover that it’s the wrong shade entirely, and your hair now looks like a neon lemon instead of the honey blonde you were gunning for.
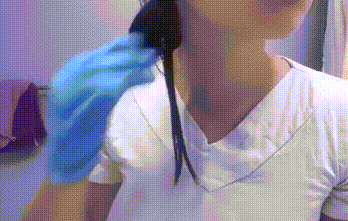 Image credit: @hangingwithannah
Strand tests exist to prevent this nightmarish possibility, as well as to check for any adverse reactions you might have to the dye formula before you proceed to apply it all over your sensitive noggin.
What to do: Test out the hair dye on a small portion of hair from a hidden section so that if it’s not your desired result, you can tuck it safely away from judging eyes. A strand test for colour takes 30 minutes, after which you can wash the dye off and check whether the resulting shade matches your expectations.
As for a skin allergy test, apply the dye mixture thinly to the inner bend of your elbow. Check the test area after 30 minutes, and again after 48 hours. If there are no adverse skin reactions, you’re good to go!
3. Section your hair for even distribution of colour
One of the biggest downfalls of DIY dye jobs is uneven coverage that looks messy and, well…Like an accident.
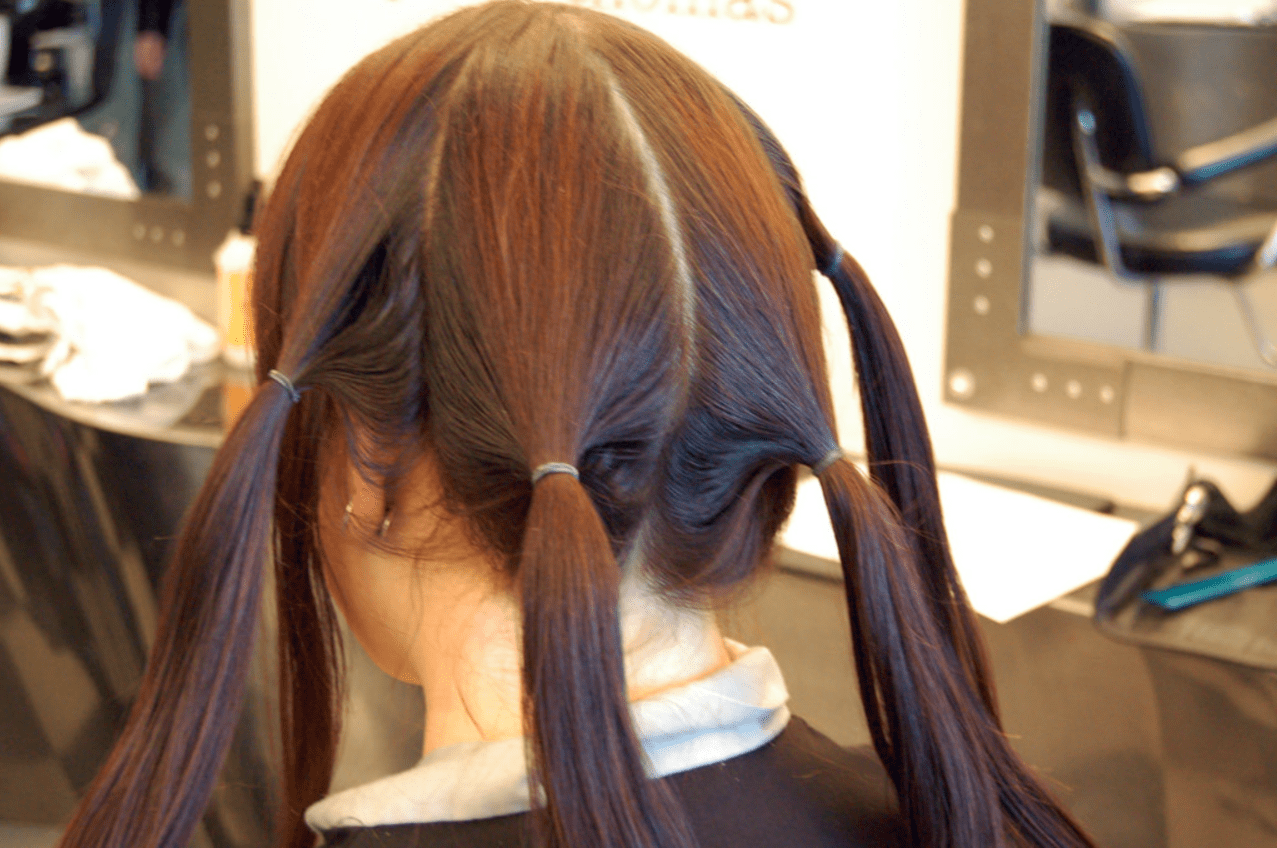 Image credit: @nadja_robot
The common mistake is to haphazardly slap the hair dye on in varying amounts all over the tresses, leaving certain sections bare. It’s an added struggle to not be able to see or manoeuver around the back of your own head very well!
Part your hair into equal sections – the golden ratio is 4 to 6 sections, depending on the length and thickness of your hair. Distribute the hair dye accordingly and coat each section thoroughly for a balanced colour payoff throughout.
4. Do NOT use metal hair clips or combs when dyeing hair
One of the biggest no-no’s in the world of hair dyeing is using any equipment made of metal, which explains why you’ll never catch any proper salon using metal bowls to store their dye mixture.
 Image credit: @buttonandloop
The tl;dr scientific explanation for this is that hair dye formulas contain a colour developing substance that reacts chemically with metal, thus rendering your dye useless. Not to spook you – but in some extreme cases – the chemical reaction might even damage your hair. Yikes.
What to do: Swap out any equipment you’ll be using throughout your self-dye process with non-metallic counterparts, such as plastic hair clips and wooden combs.
5. Apply clear lip balm or petroleum along your hairline as a “fence”
Especially for those experimenting with bright and adventurous shades, this could save you from a potential facial disaster. The delicate area where your roots meet your face is a danger zone, and you can be sure that any staining mishaps will be the centre of attention once anyone lays eyes on you.
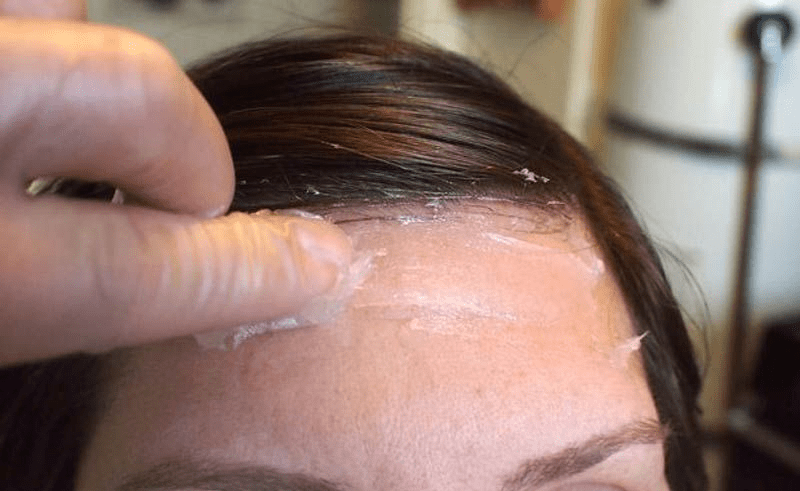 Image credit: Pinterest
To ensure that people focus on your gorgeous new hair colour instead of zooming into the mysterious “halo” of discolouration encircling your head, make sure to create a protective layer before the first coating of dye is applied.
What to do: Use clear lip balm or a thin layer of petroleum jelly to trace the outline of your temples and sideburns. The oily consistency helps to prevent hair dye from venturing into “uncharted territories”, so to speak.
6. Set up 2 mirrors to prevent blind spots at the back
The ideal scenario would be to rope in a friend and have all hands on deck. But if you don’t have that luxury, the next best thing is to create a double mirror set-up which grants you viewing access to the hard-to-reach places.
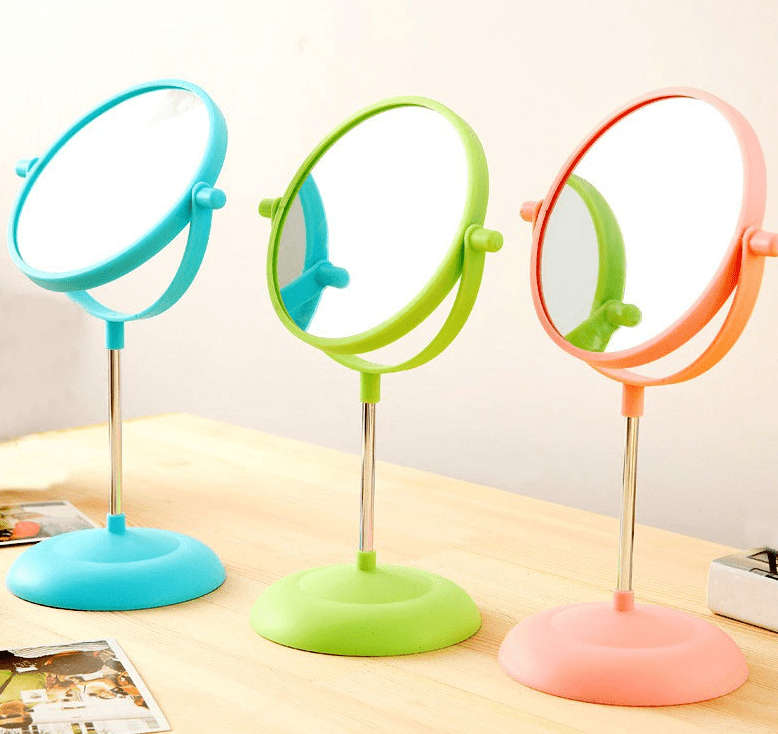 A standing mirror with adjustable angles would work best.
Image credit: AliExpress
Having “blind spots” leads to botched dye sections at the back of your head. Imagine strutting down the street feelin’ fab from your new dye job only to have strangers laughing at the undetected failures behind your back…Definitely not an ideal situation.
What to do: Station yourself in front of a mirror, with a second mirror perched up behind you so you can catch full view of your head at different angles. As a last resort if you don’t have a hanging or standing mirror, a large mobile tablet on secondary camera mode will also work.
7. “Paint” on highlights using a toothbrush or recycled mascara brush
If you’ve mastered the art of self-dyeing and want to kick things up a notch, whip out your old recycled toothbrush or a clean mascara brush to easily add some intricate highlights.
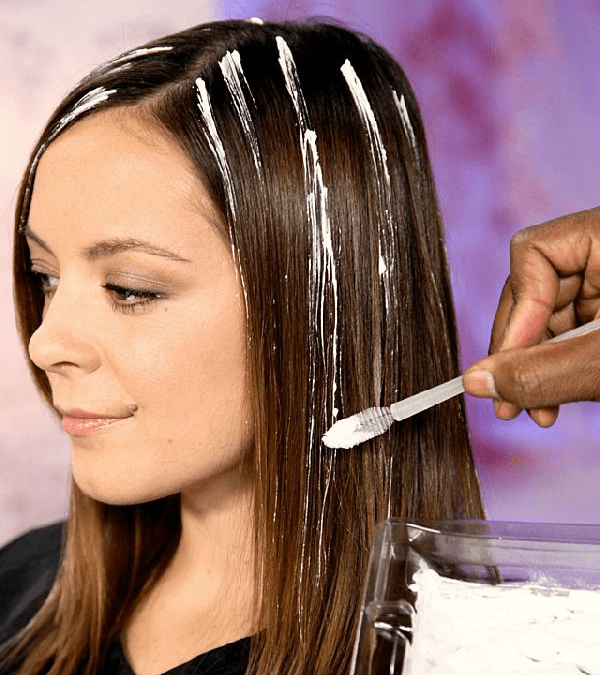 Image credit: @jasmineguz01
Applying soft streaks in strategic sections of your hair gives it a lot more depth, and the small bristles of a toothbrush or mascara brush are perfect to grant you full control without getting too heavy-handed.
What to do: Coat small sections of your hair with a dye that’s 1 – 2 shades lighter than the rest of your head. Prioritise the areas where the sunlight would normally hit to create a natural, multi-dimensional look.
8. Avoid frequent shampooing to prolong colour
Since you’ve already tailored your hair-washing schedule pre-dye, the post-dye upkeep is just as crucial.
 Image credit: @lcore.spa
Allowing windows of time in between washes gives the cuticle layer of your hair the chance to close up, which seals in the colour molecules and creates a vibrant appearance for weeks and months to come.
What to do: Dry shampoo is your best friend, and a hearty spray at the roots will prevent your hair and scalp from getting bogged down by grease in between washes. Additionally, try to wash your hair every other day at most moving forward, to allow for longer-lasting colour.
Easy DIY hair dye at home with BeautyLabo Whip
If all these cautionary tips and tricks have got you flustered about taking on a DIY dye job, go for a fuss-free, all-in-one self-dye kit instead. Enter Hoyu, Japan’s number one hair colour brand*.
*Based on data from INTAGE SRI: Accumulated Japan market share data, April 1996 to July 2018 sales base.
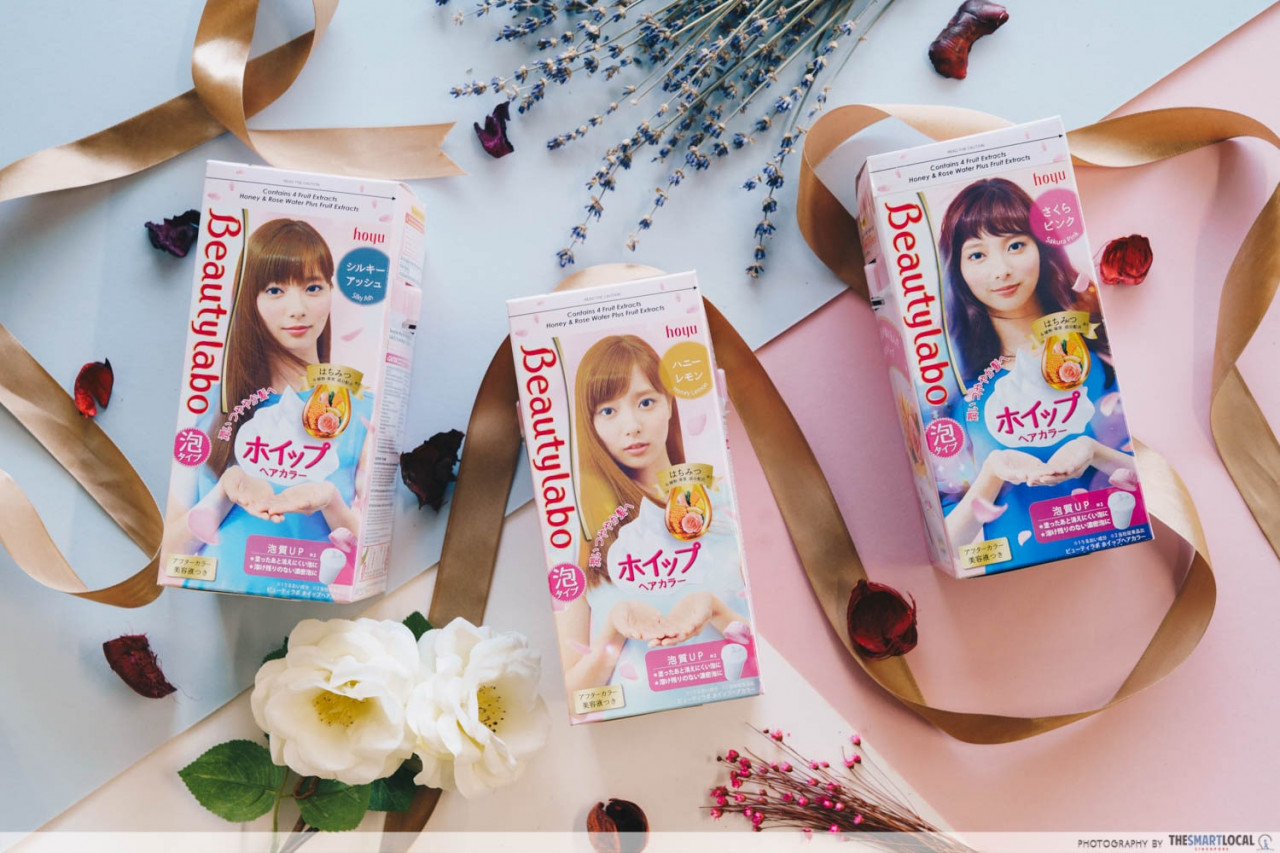
Hoyu’s BeautyLabo Whip Hair Colour comes in the form of a creamy, nourishing foam that evenly coats each strand of hair from root to tip. Leaving no ghastly undyed portions to speak of!
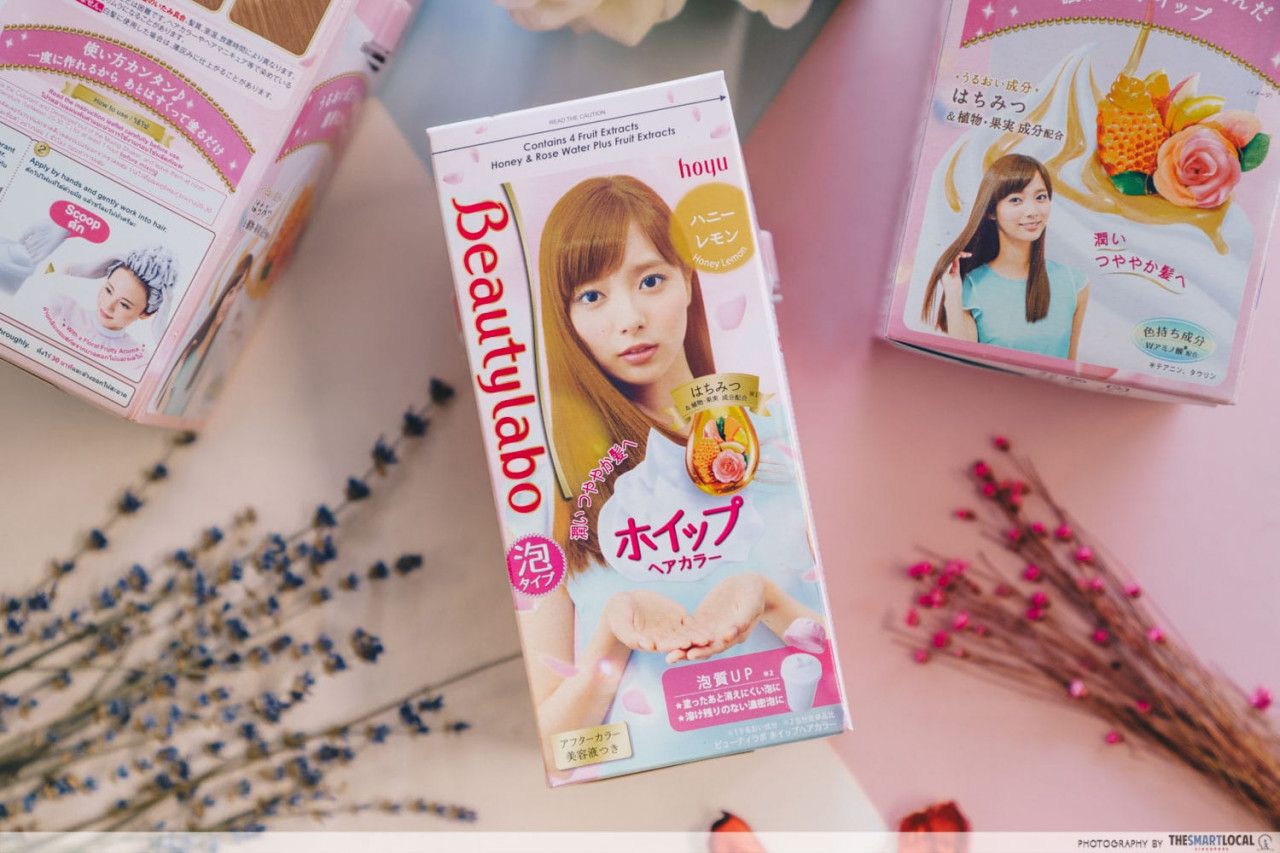 Contains honey and rose water extract for a naturally intoxicating fragrance.
BeautyLabo’s formula comes readily infused with 4 different fruit extracts, giving your freshly dyed tresses a healthy new lease of life.

All you have to do is mix the formula, shake it up for even distribution, then gently massage and blend the whipped foam into your hair with your fingertips.

Kick back and relax for 30 minutes while the whipped foam works its magic, then rinse it out and you’re good to go.
Find out more about the BeautyLabo Whip Hair Colour here
This post was brought to you by Hoyu.
Photography by Heng Wei Shin.

Drop us your email so you won't miss the latest news.